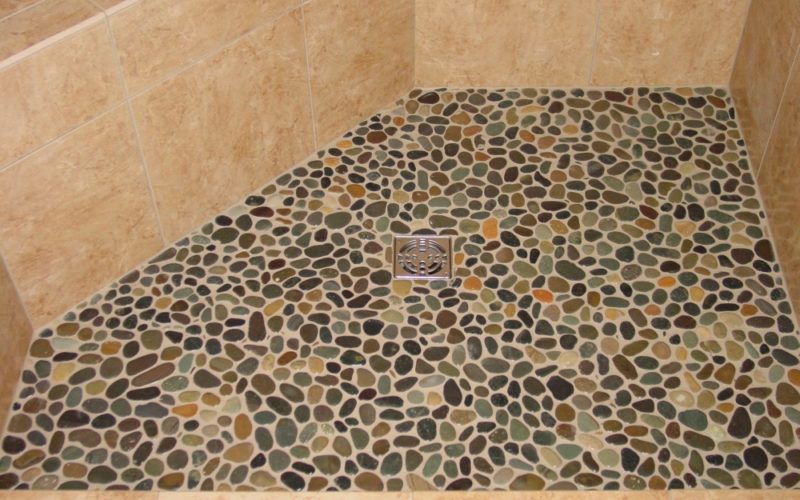
There are a number of reasons that you may undertake the task to retile your shower. No matter if you just want a new look, or there is something wrong with the existing tile, knowing the right way to do this is essential. Some materials and how-to instructions are found here to help and simplify the bathroom remodeling process.

Remove all the existing shower tiles
For this you can use tools that are specifically for removing grout or a putty knife to get rid of the grout that is holding the existing tiles together. Doing this will allow you to keep the ceramic tiles in one piece, for use elsewhere. You can pry the existing ceramic tile away easily if you insert the putty knife under the tiles until it pops off. Once the first tile is successfully removed, the others will be quite easy to get off.
Look at the floor of your shower
Once you have gotten rid of the tiles, you need to check the floor of the shower for signs of remaining tile adhesives. Then remove these by using paint remover, as well as a brush. The entire floor needs to be free of these adhesives so that the surface is smooth.
Inspect the current water barrier
The water barrier in the shower is typically a layer of material that will prevent the water from being able to soak into the floor. You should replace or repair any damage that is present.
Add thin-set mortar
After the floor is completely smoothed out, you can apply the thin set mortar. This will be placed where you are going to put the new tile. Only apply this on the area where you plan to place tiles in the next 15 minute period.
Begin installing the tiles
Prior to installing any tiles, you should comb over your mortar. The tiles will adhere better when the mortar is applied coarsely. Be sure that you place the tiles evenly.
Use pre-cut tile spacers
In order to ensure all of your ceramic tiles will be placed evenly, use tile spacers that are available at any home improvement store. Once you lay down each of the individual tiles, be sure to check to be certain that there are no spacing issues and then make the proper changes.
The last step in this process will be to apply the grout. This will be the last step to a great looking retiled shower that you will love the look of. Be sure that you follow the steps carefully, since one wrong move can cause serious issues with your bathroom project.


